During a recent trip to the ‘Golden Triangle’ area of the Luberon National Park region of Provence, France, I took the following photos, mostly with a Nikon 105mm VR macro lens. This lens has excellent bokeh properties, due to the use of a nine-blade rounded diaphragm opening, giving pleasing effects in the out-of-focus areas of the photos.
I made many mistakes, causing limited depth of field, which I have learned from.
However, this time, I used (1) a tripod, (2) cable shutter release and (3) shutter release delay for almost all of the macro shots, in order to provide stability and prevent introduced vibrations from blurring photos.
However, in many cases, in an attempt to use natural light, I achieved reduced depth of field. I need to investigate more the use of high-powered flash to obtain higher depth of field in an outside environment where you need to have fast shutter speeds, due to environmental problems like wind moving the subject being photographed.
Nevertheless, I still managed to get the following fairly reasonable shots.
None of the photos have been enhanced in any way. No Photoshop. No photos have been enlarged. Crops have been made on selected photos to show the detail the macro lens is capable of providing at 1:1 reproduction ratio.
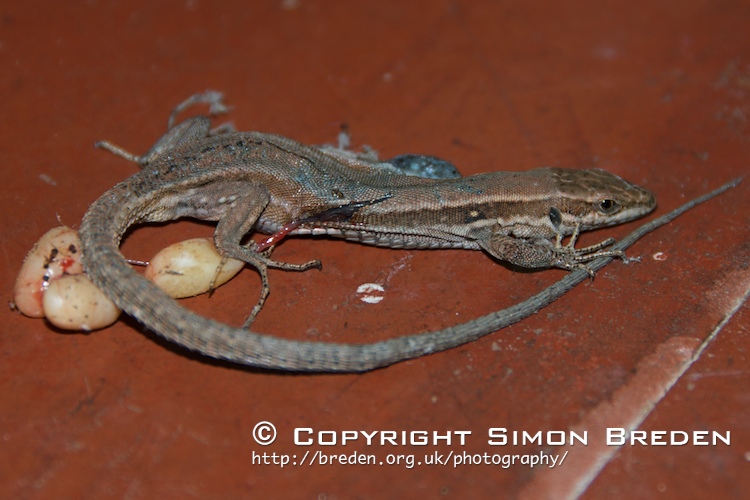
This lizard had laid eggs inside the house. I didn’t know that’s how lizards lay their eggs.
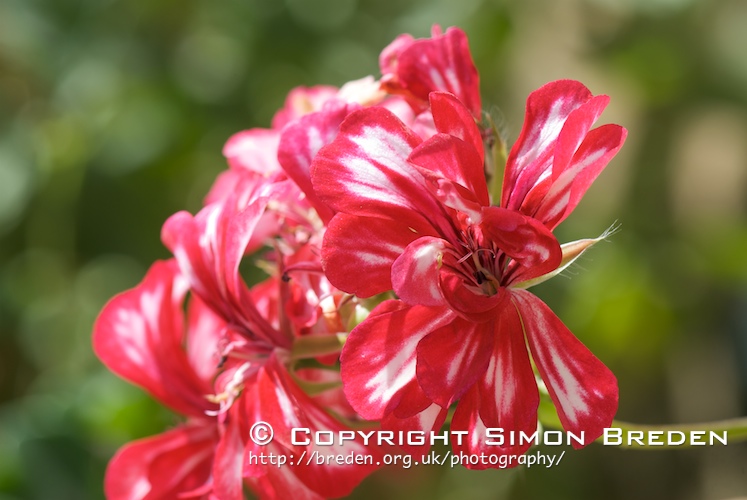
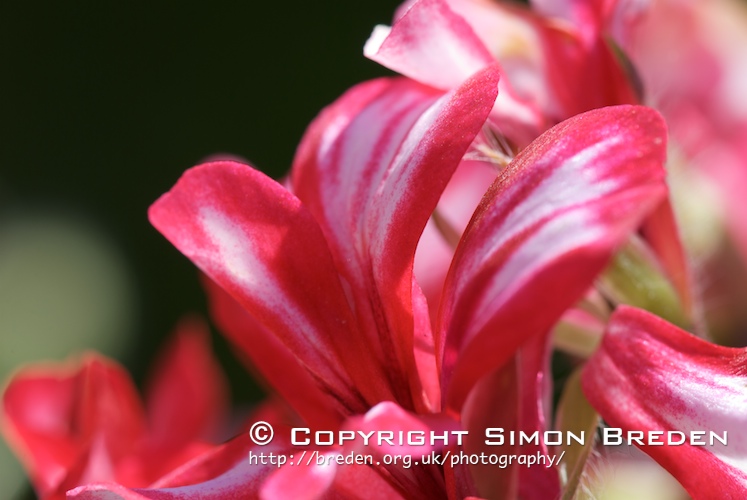
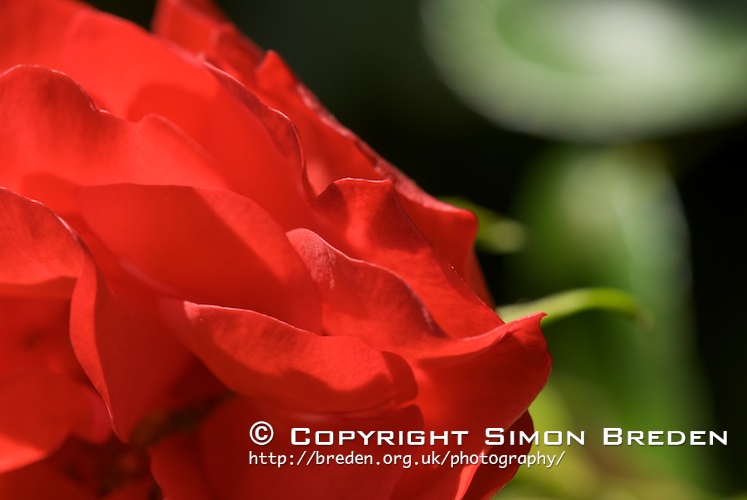
This series of pictures are of a Pelargonium. It has striking red and white markings.
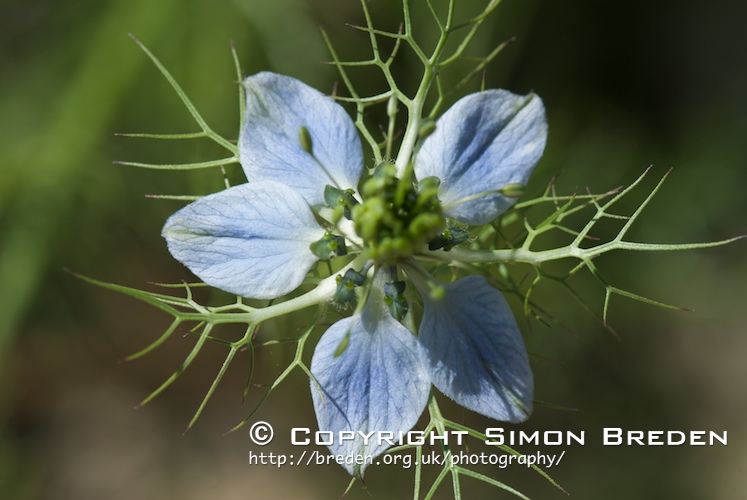
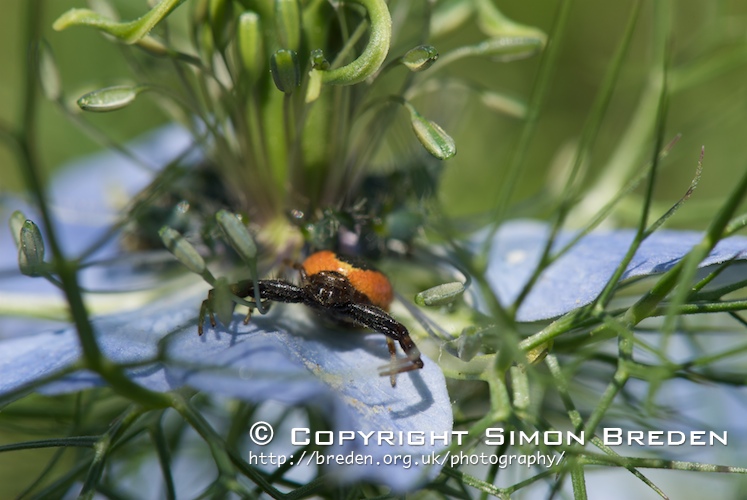
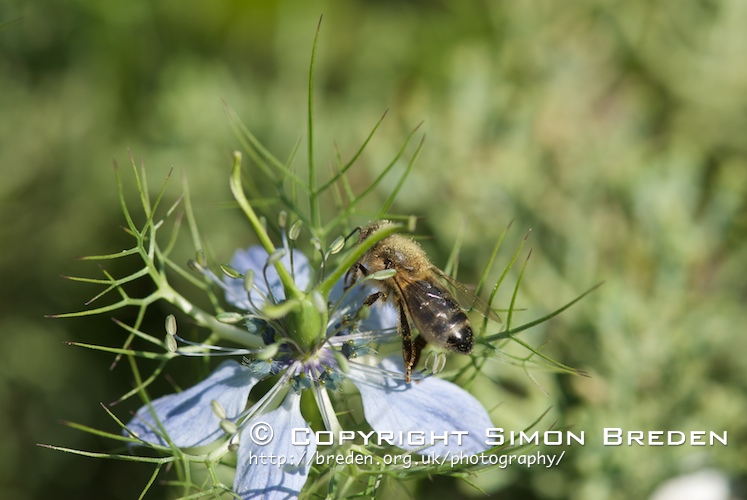
This intricate flower is called ‘Love-in-a-Mist’ (Nigella damascena):
A spider made a home on this one:
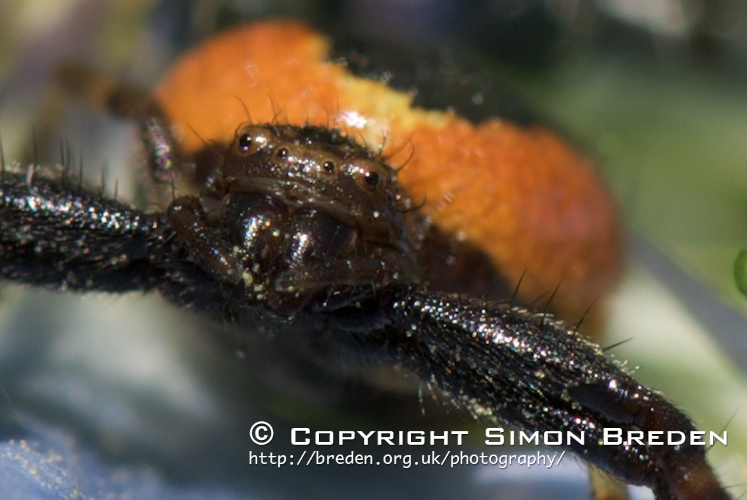
The same shot, but cropped to show more of the spider’s face and eyes. What a handsome dude! 🙂
The same spider from the other side:
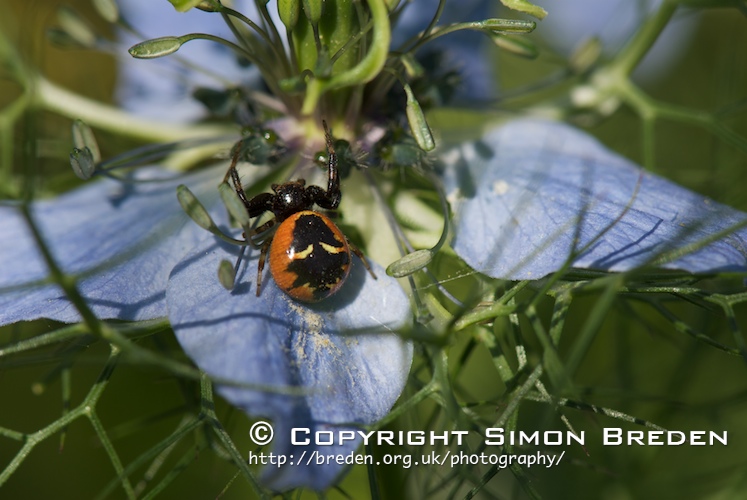
The same shot, but cropped to show more of the spider:

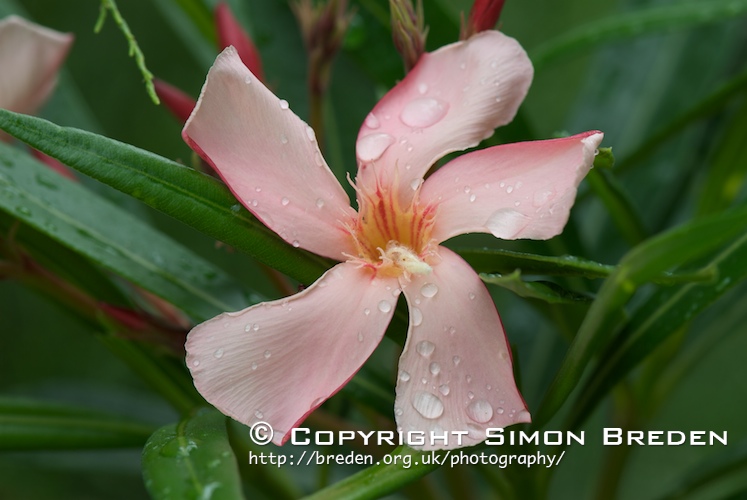
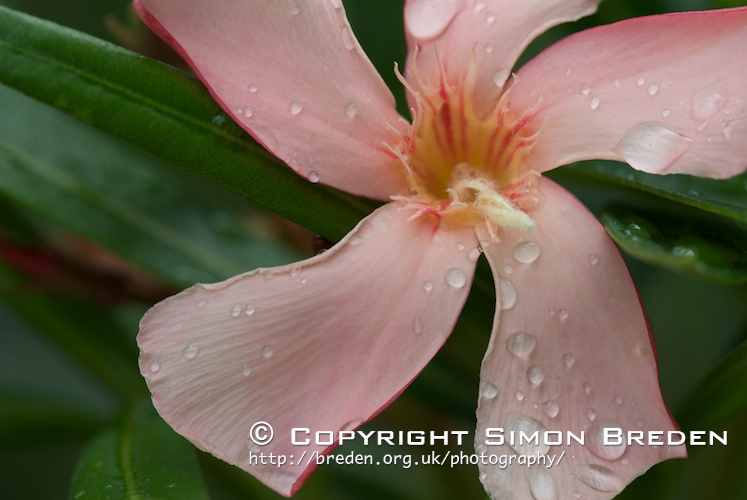
I love how the layers of petals give a crumpled 3D look with the shadows:
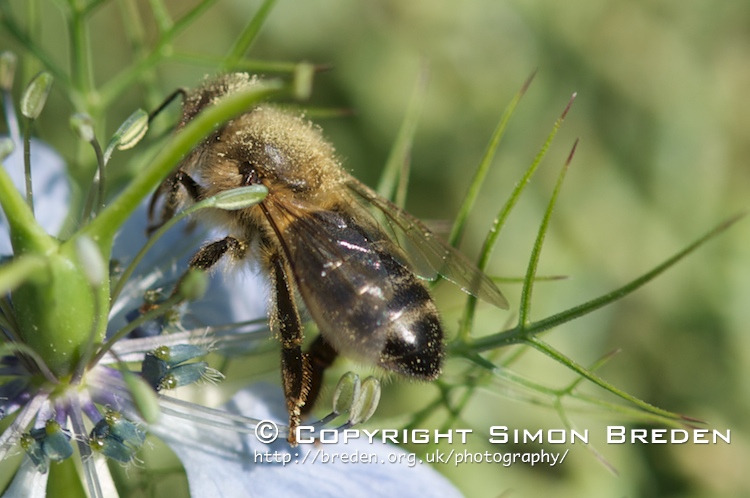
A bee hard at work on the ‘Love-in-a-mist’ flower:
The same shot, but cropped to show more of the bee:
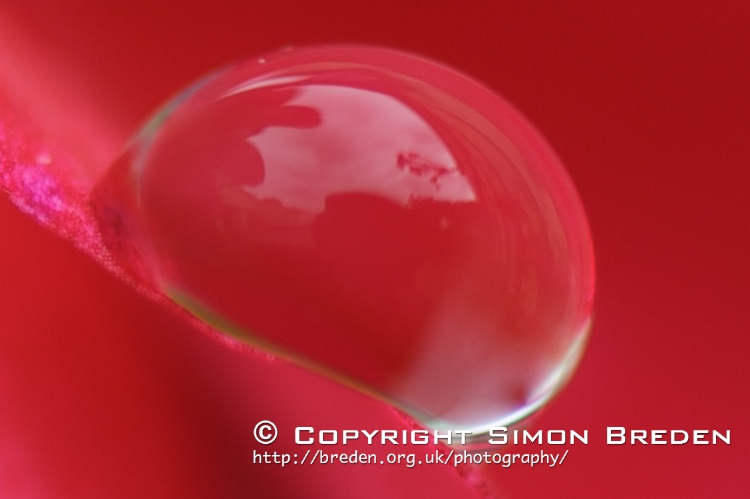
The next series of shots are after a light rain, so I tried to capture rain drops formed on the plants.
This was tricky to take because the tripod had to be positioned precariously on uneven steps. I don’t remember the name of the plant, but it was the effect I wanted to capture:
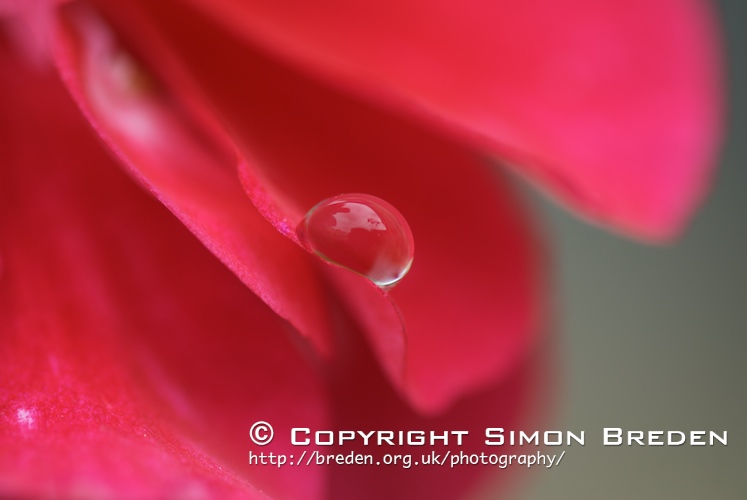
The same shot, but cropped to show more of the raindrop:
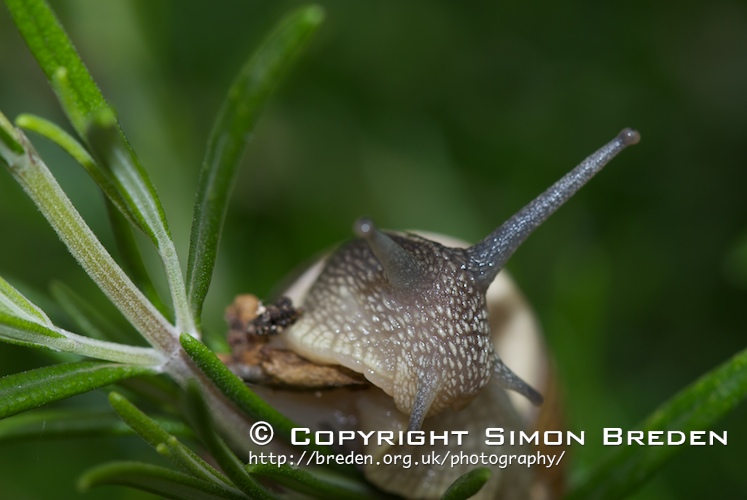
The rain brought out the snails, and this one was found on a rosemary bush:
I don’t remember the name of this plant, will check:
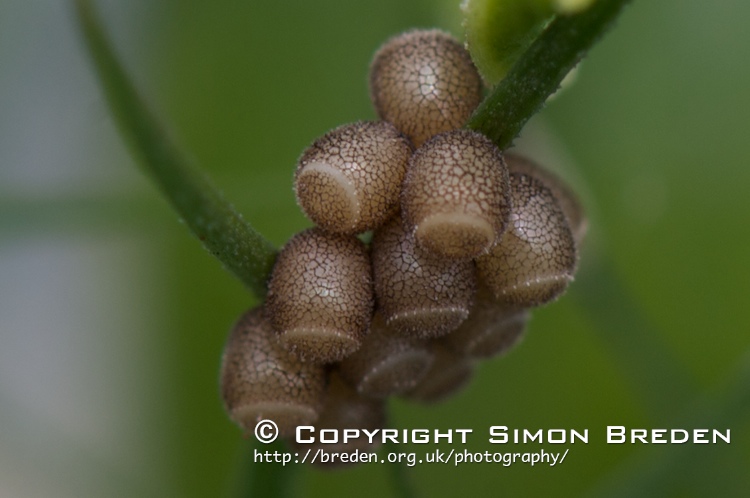
A crop of some spider eggs, found on the same plant inhabited by our friend above:
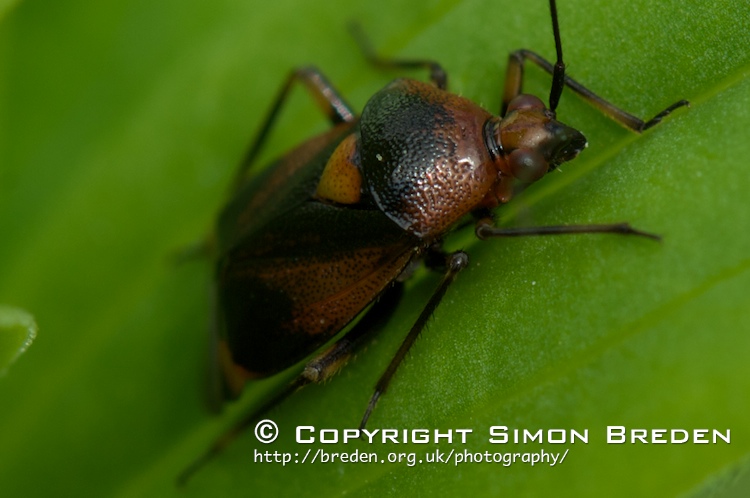
An amazing beetle — look at the copper-like colours and indentations on its thorax. Right antenna not easily visible due to depth of field issues:
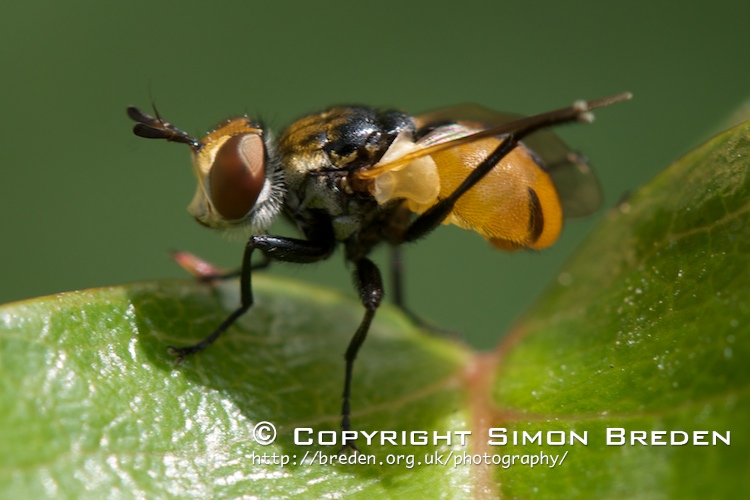
This fly was getting itself dry in preparation for flight after the rain:
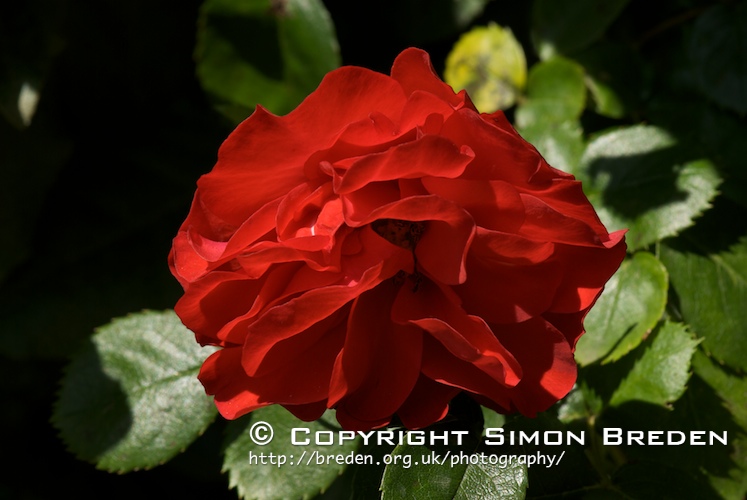
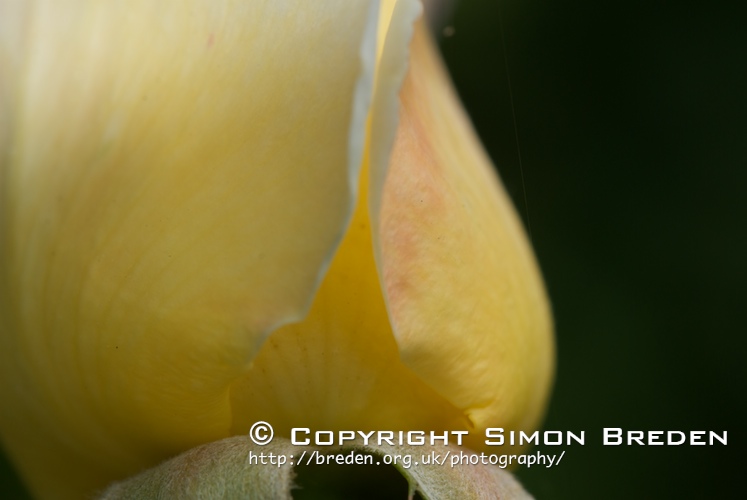
A yellow rose:
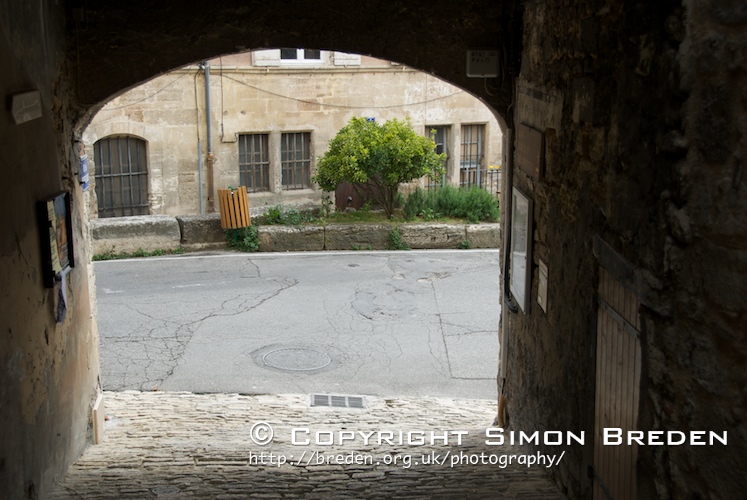
Non-macro shot looking out of a tunnel down a hill:
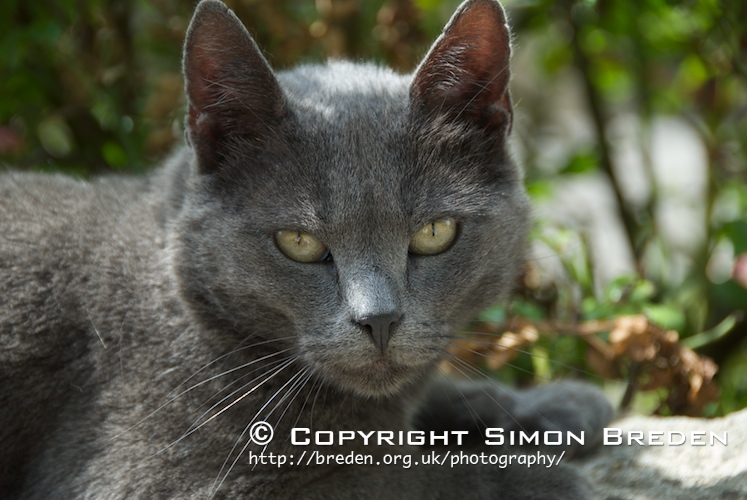
A friendly local cat:
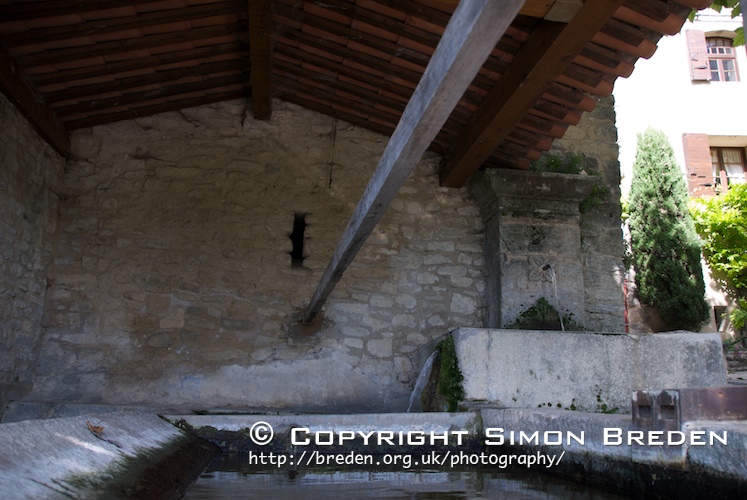
Water in a nearby village. The mistake I made on the first photo was to include high and low light levels in the same shot, as camera sensors don’t deal well with high contrast. The camera light-metering has exposed for the mostly low light levels, causing the bright wall on the right to bloom (lose detail due to being overexposed). High Dynamic Range photography (HDR) can be used to ‘improve’ the outcome of photos taken in high-contrast situations like this, but I have yet to learn much about it:
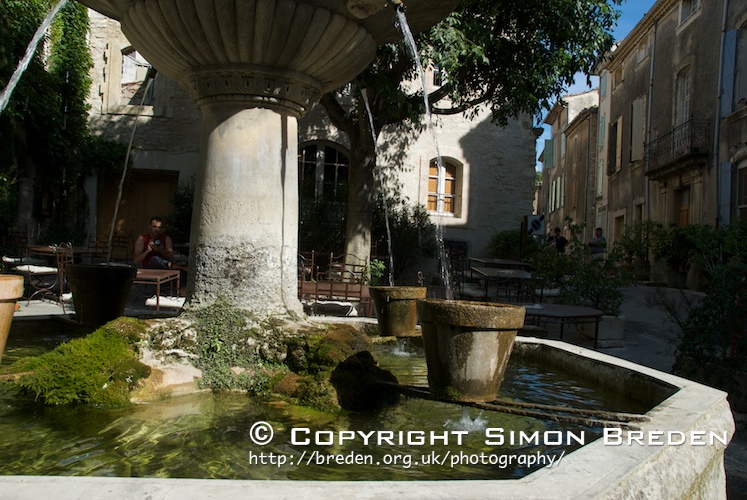
Here I tried to capture the classic ghostly effect achieved when photographing flowing water using a long exposure. The mistake I made was to do it on a sunny day, as this made me reach the limits of the smallest aperture size, as I needed a tiny aperture to get a long exposure. Next time, this should be done on a dull day — doh! 🙂
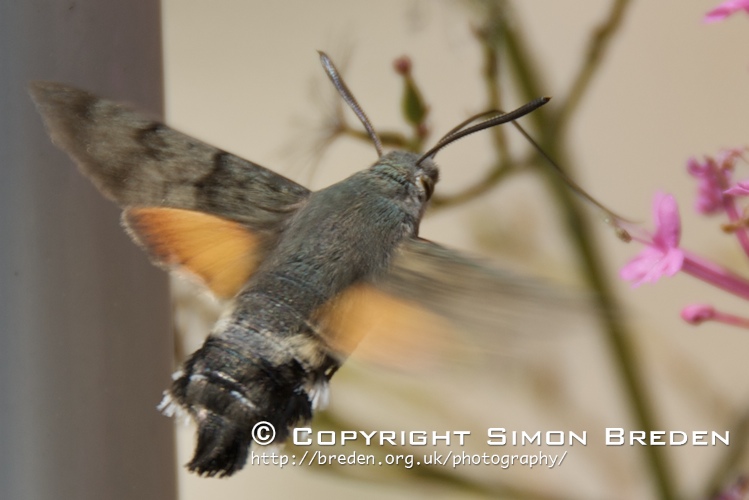
This is a Hummingbird Hawk Moth, and it is a truly incredible thing, able to manoeuvre at lightning speeds. Due to its nervousness and extreme agility, I had great difficulty trying to capture this one. My tactic was to observe its preferred flowers and then move in there and wait for it to appear. Doing all this in the searing heat, this required a cool beer afterwards to recover 🙂
This trip gave me a good opportunity to use this Nikon 105mm VR macro lens reasonably extensively. Overall, I have been very happy with its performance in terms of optical quality and high reproduction ratio (1:1), although this may be possible to augment through use of teleconverters if you don’t mind losing the autofocus capability, which I don’t.
A reproduction ratio of 1:1 for this lens, means that the lens is capable of representing a photographed subject the size of the camera’s sensor at full size. The Nikon D200 has an image sensor of around 24mm by 16mm, so with this lens, for example, you can take a picture of a 24mm long by 16mm wide hornet, and this would completely fill the camera’s image sensor, occupying a full 3884 x 2600 pixels for the hornet alone. However, to get this maximum level of magnification, you have to be very close: around 30cm distance between the camera’s image sensor and the subject. As the lens is fairly long, and the image sensor is recessed deep inside the camera, in practice, this means that the subject being photographed should be around approximately 10cm from the end of the lens — so very close!
This lens is pretty near perfect for plant photography and some slow-moving insects. However, for nervous and agile creatures like butterflies, it would be better to use a powerful telephoto-macro lens as this will give you greater working distance — i.e. you don’t need to get as close to get good magnification, and therefore won’t lose so many shots by scaring the insect away. However, good telephoto-macro lenses are pretty expensive.
The vibration reduction (VR) feature is pretty useless at very close working distances when you want to get extreme detail, so it’s best turned off in these situations. The same goes for autofocusing — turn it off when doing extreme macro as it doesn’t work reliably, the lens autofocusing will cause the lens to ‘hunt’ for an in-focus image repeatedly. Therefore, when doing extreme close-up macro with this lens, you need to (1) turn off VR, (2) turn off autofocus and put it into manual focus mode. Finally, move the macro switch on the lens into the ‘FULL’ position for extreme close-up macro shots.
When you’re doing extreme macro, as you’ll be using manual focusing, it becomes critical to be able to see whether your photo is well focused, and this is not always easy when you’re (1) trying to get decent depth of field and (2) looking through the small viewfinder of most cameras. For the Nikon D200 camera that I use, I have seen that there is a magnifying viewfinder available, which is something I should seriously consider getting if I want to improve my chances of getting crisp macro shots.
The other accessory I should look into is usage of high power flash. I’ll start off using my SB-400 or SB-600 flashes and see how that goes. For proper macro photography, Nikon sell the R1C1 commander kit, but as this was around £500, I didn’t buy this when I bought the 105mm macro lens. Another time, perhaps. As the D200 can act as a flash commander without need for an SU-800 commander, one possibility would be to hand hold the SB-600 which could be used in wireless mode, controlled by the D200, acting as commander. As the camera would be on a tripod, and the remote cable release would be in one hand, the other hand would be free to point the SB-600 towards the subject of the macro shot.
One of the biggest difficulties encountered during taking these shots was the wind blowing the plants around. This made it completely impossible to proceed until the wind had dropped. It also made focusing almost impossible at times. For this reason, I can understand that the best macro shots would be much easier to take in a controlled environment, away from wind, like indoors. The problem though, is that the plants are outside, and most are not transportable in pots. Hmmmm….
This macro lens is quite versatile, as it doubles as an excellent portrait lens, with very sharp results. For portrait shots, if you like, you can (1) turn on VR, (2) turn on autofocus and (3) put the macro switch to the ‘0.5m to infinity’ setting.
On a completely different note, I recently saw a film called ‘A Good Year’ which is filmed in this region of Provence. It includes nice imagery of the surrounding nature. I liked it, anyway.
For a flash, take a look at Metz: the make Nikon compatible machines, cheaper than the SB-xxx.
Nice Photos.
One thing I learned to do for HDR photos:
Take two photos on tripod: one photo metered for the light areas and one photo metered for dark areas. Granted, then you have to do some manipulation but after four or five I got the process down and now use it all the time for shots of sunsets and landscapes where I really want to capture good detail of both sky and land or any photo with very high contrasting areas where I want detail of both.
I first used this technique photographing some striking examples of Datura (Datura wrightii):
http://en.wikipedia.org/wiki/Sacred_Datura
http://en.wikipedia.org/wiki/Datura
…When I could not get metering right. I’d either bloom and wash out the macro detail of the stunning white flower in the early morning sun (when it’s open) or metering on the flower, the leaf background was too dark to see veins or any good detail.
Thanks for sharing your great photos (and the ZFS stuff too)!
best,
Daren / n3r8d
Thanks, the Metz flashes do seem to be very competitively priced compared to the Nikon-branded ones! However, I already own Nikon SB-400 and SB-600 flash units… I expect I could have saved some cash if I’d known about the Metz range. Oh well 🙂
Hi Daren, thanks for the compliments and great HDR tips, and I look forward to learning more about it soon.
A few months ago, I remember seeing some amazing surreal-looking cathedral interior photos using HDR, but I can’t find them any more… they looked stunning!
HDR is definitely an area I want to explore.
Cheers,
Simon
Maybe this is it:
http://www.flickr.com/photos/stuckincustoms/sets/72157594201844069/
I love those! And always wondered how they are done???
…or close.
d.
p.s. – I thought the captcha was very cathedral appropriate: “keeps prayer” 😉
I don’t think it was those ones, although they are very nice too. If I find them I’ll post the link here. Very cAPTcha 😉
Something I’ve read about and not had a chance to try yet: To get the long exposure effect your were after for the fountain shot, try a neutral density filter. By cutting the light reaching the lens, you can decrease the shutter speed in bright conditions without changing the aperture.
The same filter can be used to keep the aperture wide for shallow depth of field portraits in sunny settings.
Thanks for the tip Jason, I can see how that could have helped me to increase the exposure time now 🙂